The distributive property is one of those third grade math concepts that sounds straightforward on paper and wrecks half the class the first time you try to teach it. The formula makes sense to you. It doesn’t make sense to them. And worksheets alone won’t get them there.
The lesson I’m about to walk through uses grid paper, highlighters, and an area model to make the distributive property visual and concrete. My struggling third graders not only got it, they asked if we could do the activity again the next day. That’s the bar.
Here’s exactly how I taught the distributive property to a class that had been stuck for a week.
Before we get into the lesson, a quick reminder of what we’re actually teaching. The distributive property of multiplication says that a × (b + c) = (a × b) + (a × c). You can break a big multiplication problem into two smaller, friendlier ones and add the pieces together.
Simple idea. Hard sell to an eight-year-old looking at a string of letters.
Third graders get stuck on it for a few predictable reasons. The notation looks like a different language. The parentheses feel arbitrary. And if students don’t already have solid multiplication fact fluency, the whole property feels like extra work on top of something they’re already shaky on.
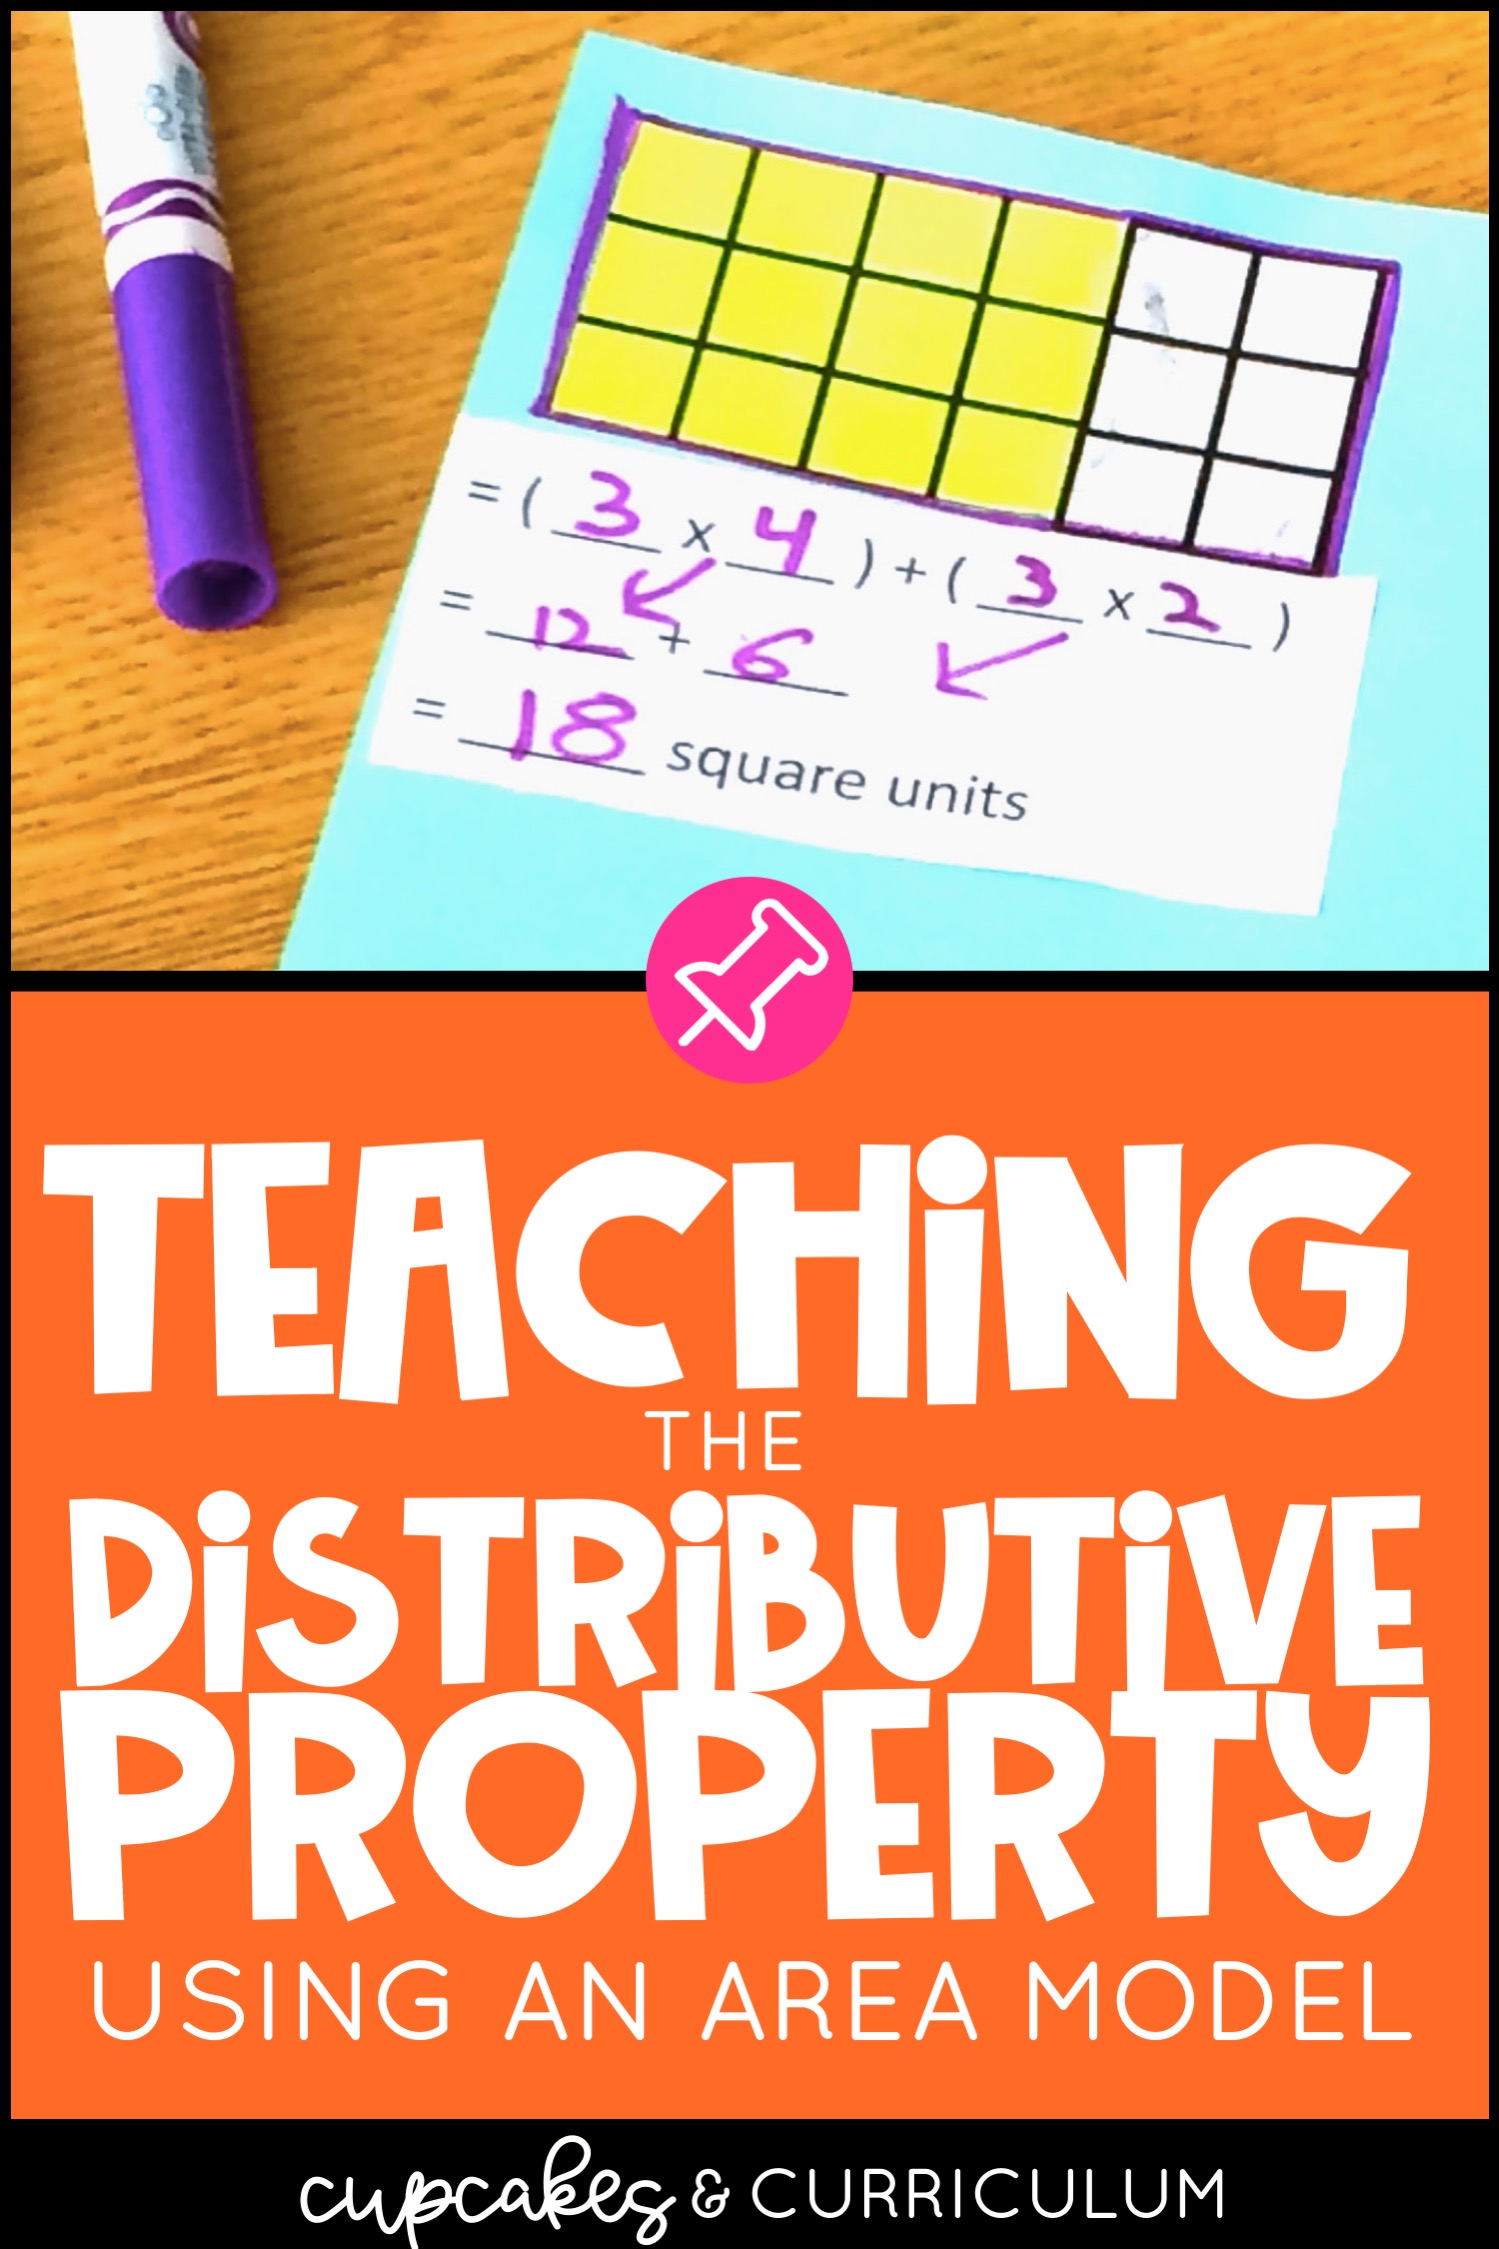
The area model fixes most of this. Students can literally see the big rectangle getting split into two smaller rectangles. The property stops being a rule and starts being a picture.
Minimal prep. No specialty supplies. Here’s the materials list:
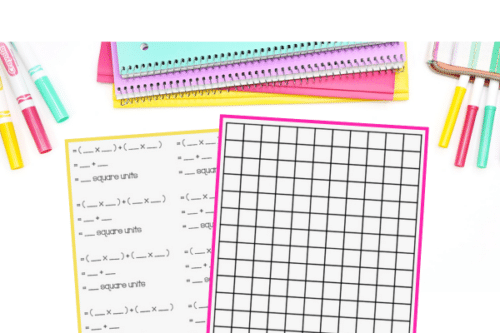
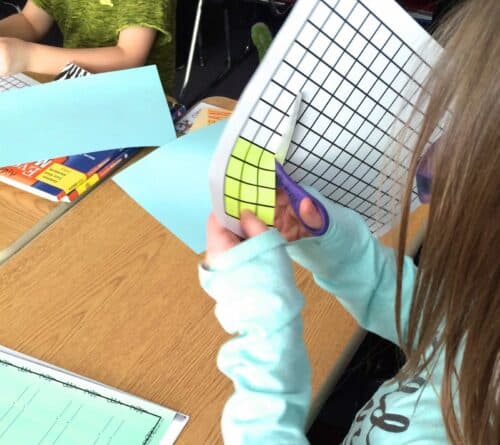
Start by modeling the process on your own grid paper. I colored in a rectangle with a highlighter and asked my students to recreate the same rectangle on their own grid paper. Once everyone had matched mine, we all cut out the rectangle and glued it onto the construction paper.
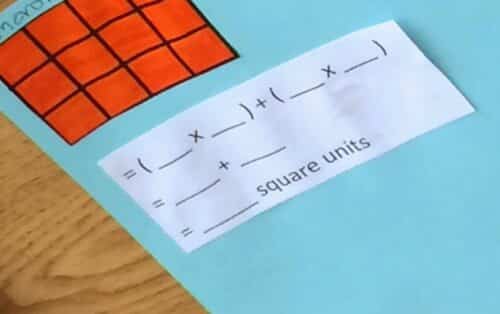
Then I passed out the formula page and had students glue it underneath the rectangle. We talked about what we already knew about finding the area of a rectangle (length times width), wrote down the formula, and calculated the area for that first rectangle.
Next, I shaded a second rectangle with pencil, making sure it had the same height as the first rectangle. This is the part that matters. The shared dimension is what makes the distributive property work.
Students recreated this second rectangle, cut it out, and glued it next to the first one on their construction paper. Then we used marker to trace around the whole combined shape, treating the two rectangles as one larger rectangle.
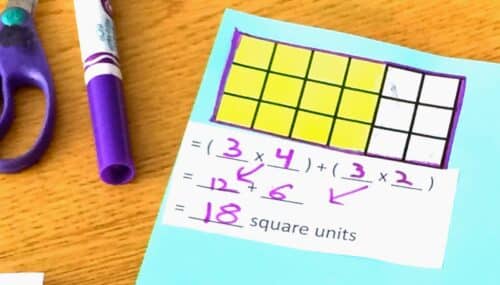
Here’s where the lightbulb goes on. Students calculated the area of each smaller rectangle separately, then added them together. Then they calculated the area of the whole outlined rectangle using length times width.
Same answer. Every time.
That’s the distributive property. Not as a rule to memorize, but as a thing they can see with their own eyes on their own paper.
We did four more examples together. My students were genuinely bummed when I told them we were out of time, and they asked if we could do the activity again the next day. I’ll take it.
After the hands-on lesson, students need practice to lock it in. I sent home a practice page from my Third Grade Math Worksheets Bundle that includes pages that mirror the area model approach directly. The bundle includes six pages of distributive property practice with increasing difficulty, which is useful for the students who need more reps before the concept really locks in.
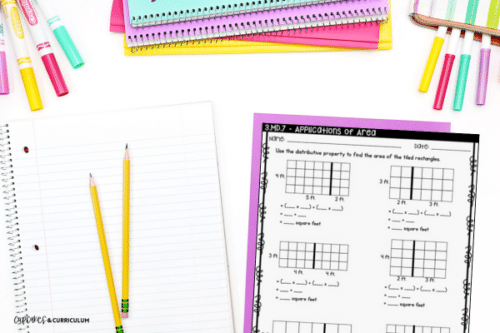
The key is that the practice page uses the exact same visual students just built by hand. If their homework uses a totally different representation, you lose the thread. Match the practice to the lesson!
Some third graders will need a second or third pass at this lesson. A few things that helped my students who weren’t quite there after the first round:
If you have students who are chronically stuck in math, I wrote more about that in how to help the student who struggles in math.
Before you can teach the distributive property successfully, you need to know which students have the multiplication foundation to build on. I put together free skill check worksheets for every grade level, including a full 3rd grade set, that you can grab here: free third grade math skill checks.
Use them as a pre-assessment before this lesson, a quick review warm-up, or an exit ticket after practice!